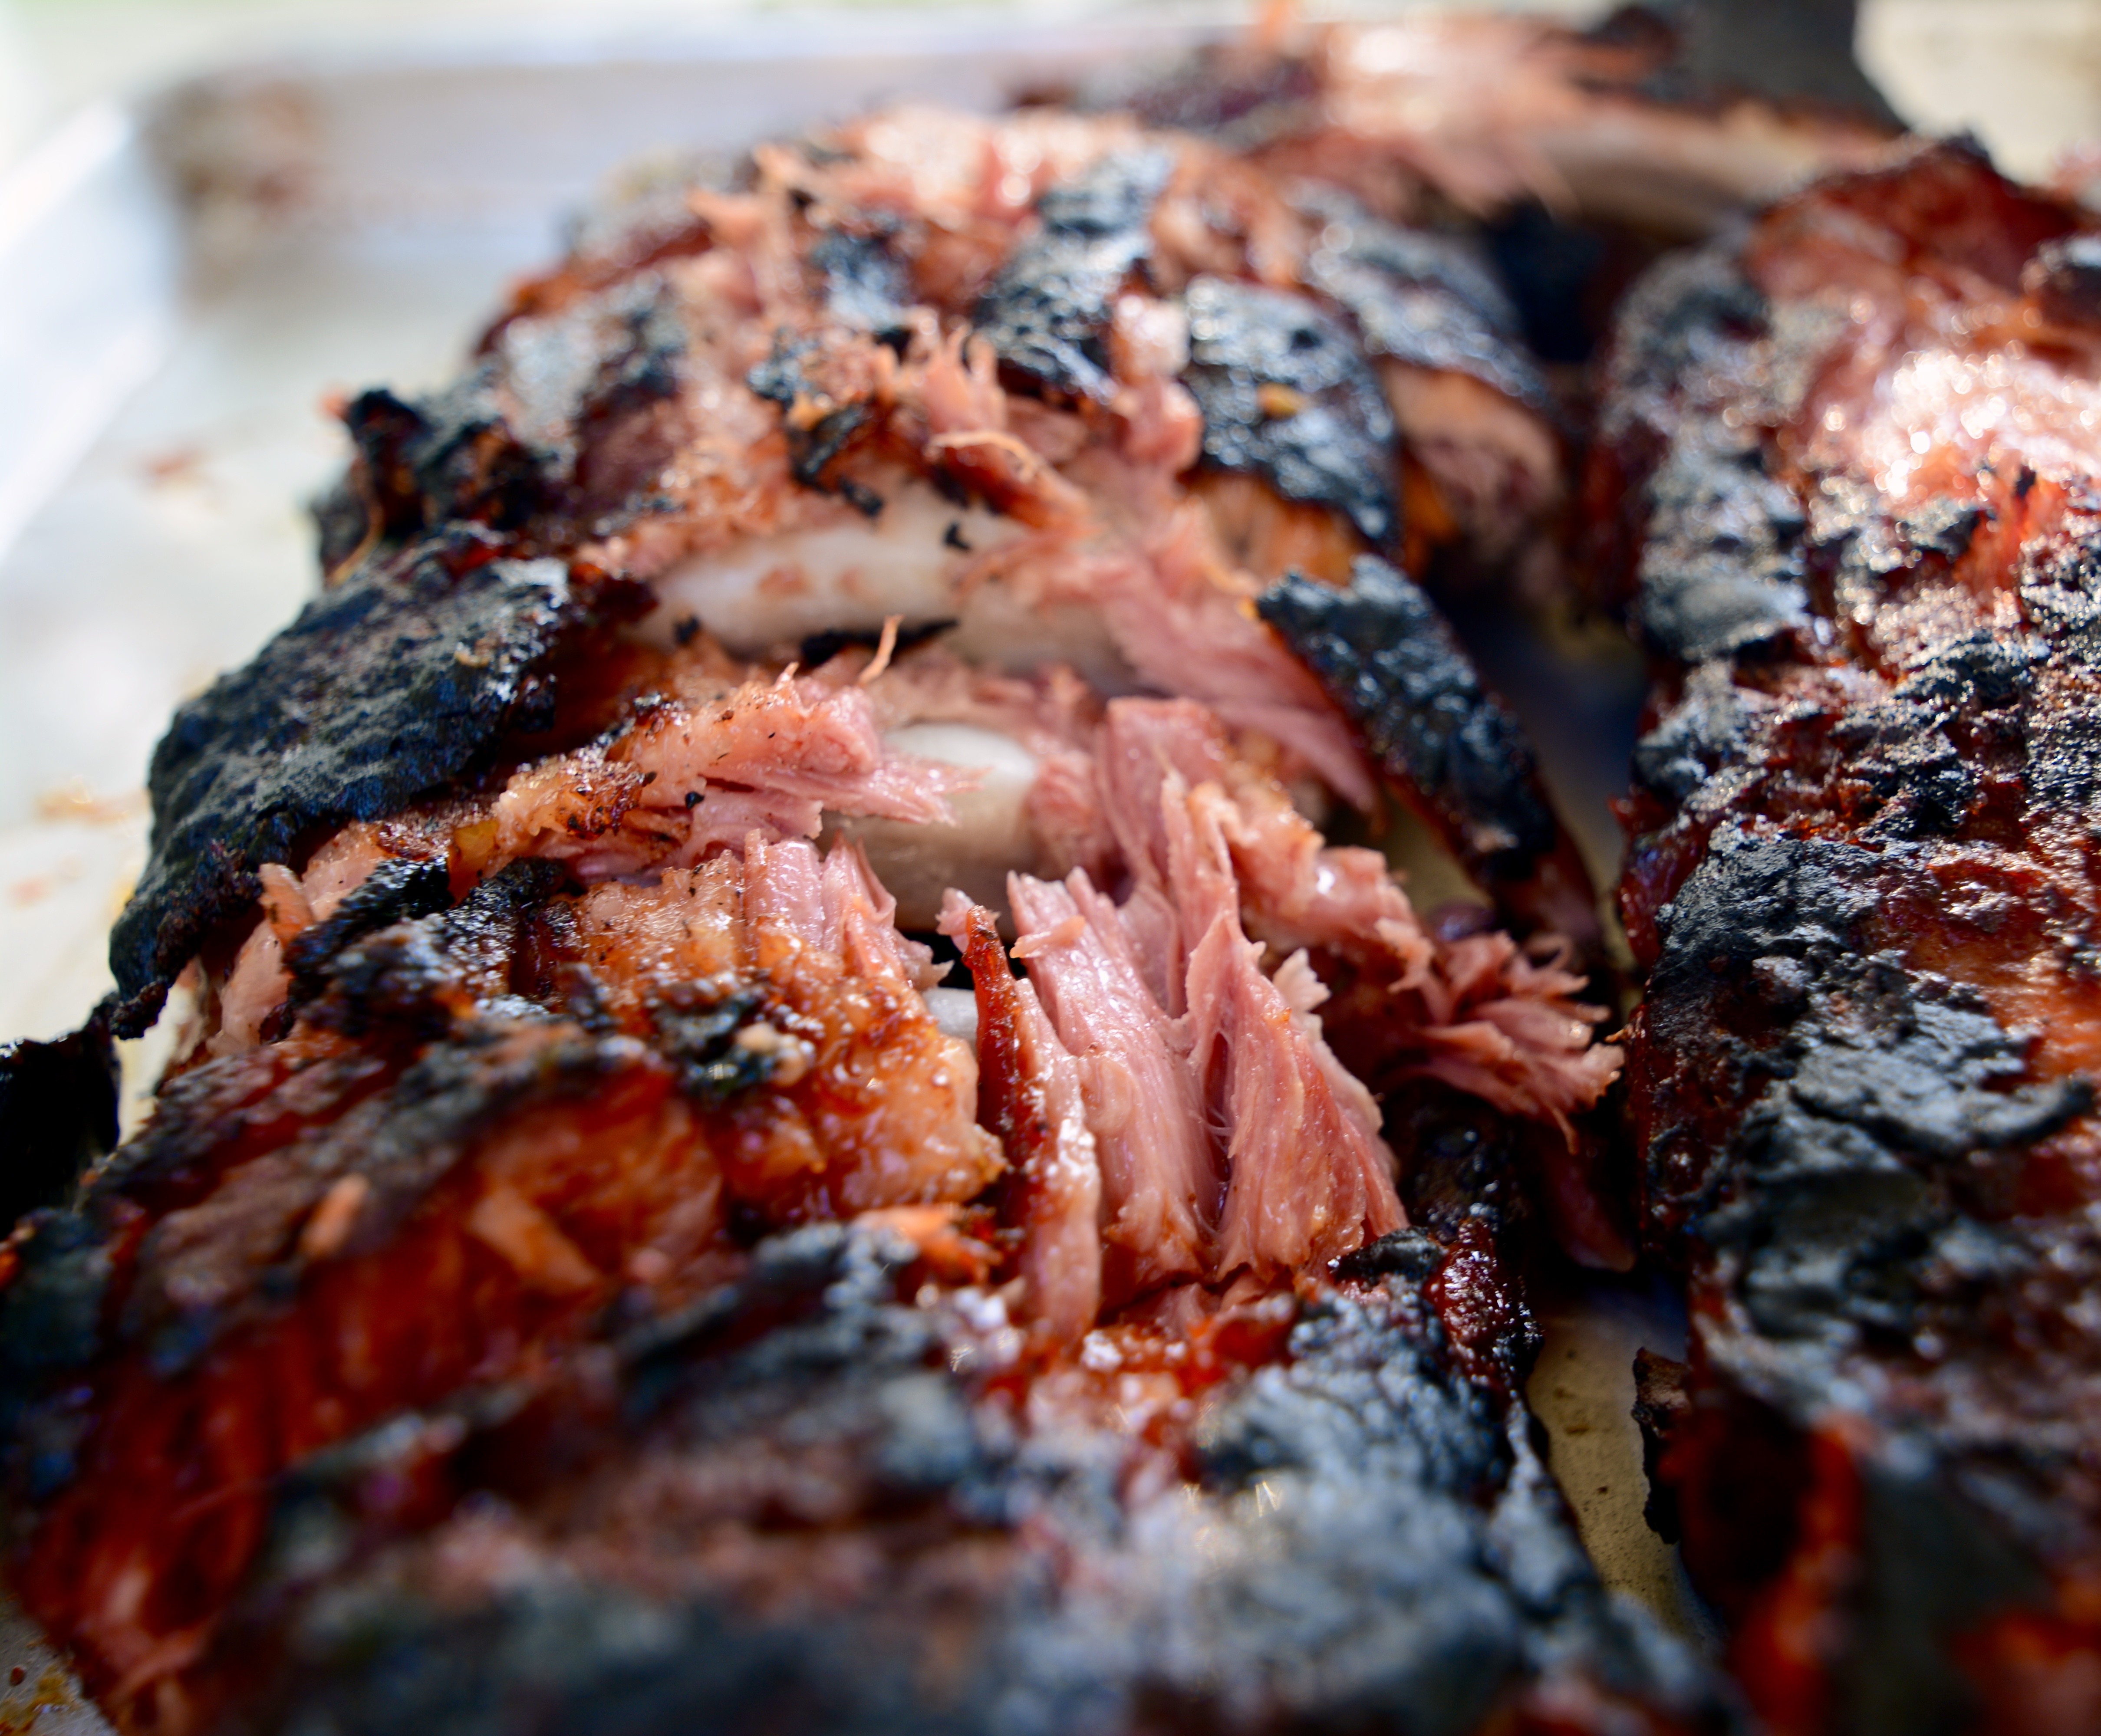
Before this past Labor Day, I had never attempted to master the baby back ribs for fear that I would somehow screw them up horrendously. I’ve eaten plenty of ribs in my day, some good and some not so great, but my favorites have always been the ribs that are fall-off-the-bone tender and have a crusty bark on the outside.
I’m partial to a dry rub, but there’s just something about a sticky barbecue sauce getting all over your face when you dig into an amazing pile of ribs that I couldn’t get out of my head. I decided to split the difference and do a little of both.
I figured that I would need at least a few hours to really let these bad boys get super tender, and I knew that I needed a relatively large amount of control of the cooking heat, so I decided the oven would be the easiest place to start. I made sure to wrap them up extra tight in their foil blankie and figured I could check them at two hours with a paring knife. Flash forward to three hours later to where I’d gotten so completely distracted by everything else going on in the kitchen that I forgot about the ribs cooking away in the oven. Thankfully the kitchen was starting to smell amazing, and the smell of the spices brought me back to my senses. I whipped the ribs out of the oven, popped open the foil packet, and quickly tested the meat with my paring knife. It was like cutting through butter. I could not have been happier with how these turned out and seriously cannot wait to make them again!
Serves around 6 hungry people.
Ingredient List:
- 2 full racks of baby back ribs
for the spice rub:
- 2 tbsp salt
- 1 tbsp smoked salt
- 2 tbsp brown sugar
- 1 1/2 tbsp paprika
- 1 tbsp garlic powder
- 1 tbsp chili powder
- 1 tsp cumin
- freshly ground pepper
for the bbq sauce:
- 1 cup ketchup
- 1/4 cup molasses
- 1/4 cup water
- 1/2 cup brown sugar
- 2 tbsp cider vinegar
- 1 tbsp Worcestershire sauce
- 1 tsp smoked salt
- 1 tbsp chili powder
- 1 tsp cumin
- 1 tsp paprika
Kitchen Tools: barbecue, baking sheet, aluminum foil, pastry brush, saucepan, non-stick spray
Prep Work:
Preheat your oven to 325*F. Set your ribs upside down on a cutting board so that the bones on both sides are sticking up at you. Slip a paring knife on one end of the rack under the transparent membrane that runs along the entire backside. Carefully make a big enough divot for your fingers, and use a good yank to tear it off the rack. It should come off in one long sheet if you do it correctly. Repeat this with the second rack and discard the membranes.
Combine all ingredients for your spice rub in a small bowl and mix thoroughly. Sprinkle evenly on all sides of both racks, rubbing it in lightly to get it to stick. Take four long strips of foil and wrap the racks side by side in the same packet meat-side up, leaving a little air pocket at the top so that the foil won’t stick. Basically you’re making a little foil baggie to keep all their moisture in while they cook to tender perfection. Do not press the foil down on top of the ribs!
Cooking:
Place wrapped ribs on baking sheet and cook for 2.5 – 3 hours. At 2.5 hours they’ll be tender + sliceable and at 3 hours you’ll be able to pull the bones out completely clean, but slicing cleanly will basically be impossible. I prefer the 3 hour mark.
While your ribs are in their 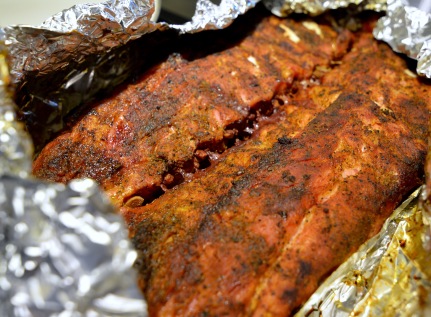 last 30 minutes of cooking, preheat your barbecue to searing high heat. Combine all ingredients for barbecue sauce in your saucepan and heat on medium heat until it starts to bubble and darken. Remove ribs from oven and crank oven to 400*F. Baste both sides of ribs liberally with barbecue sauce. Place ribs back in oven for 5-7 minutes to dry out the sauce a little.
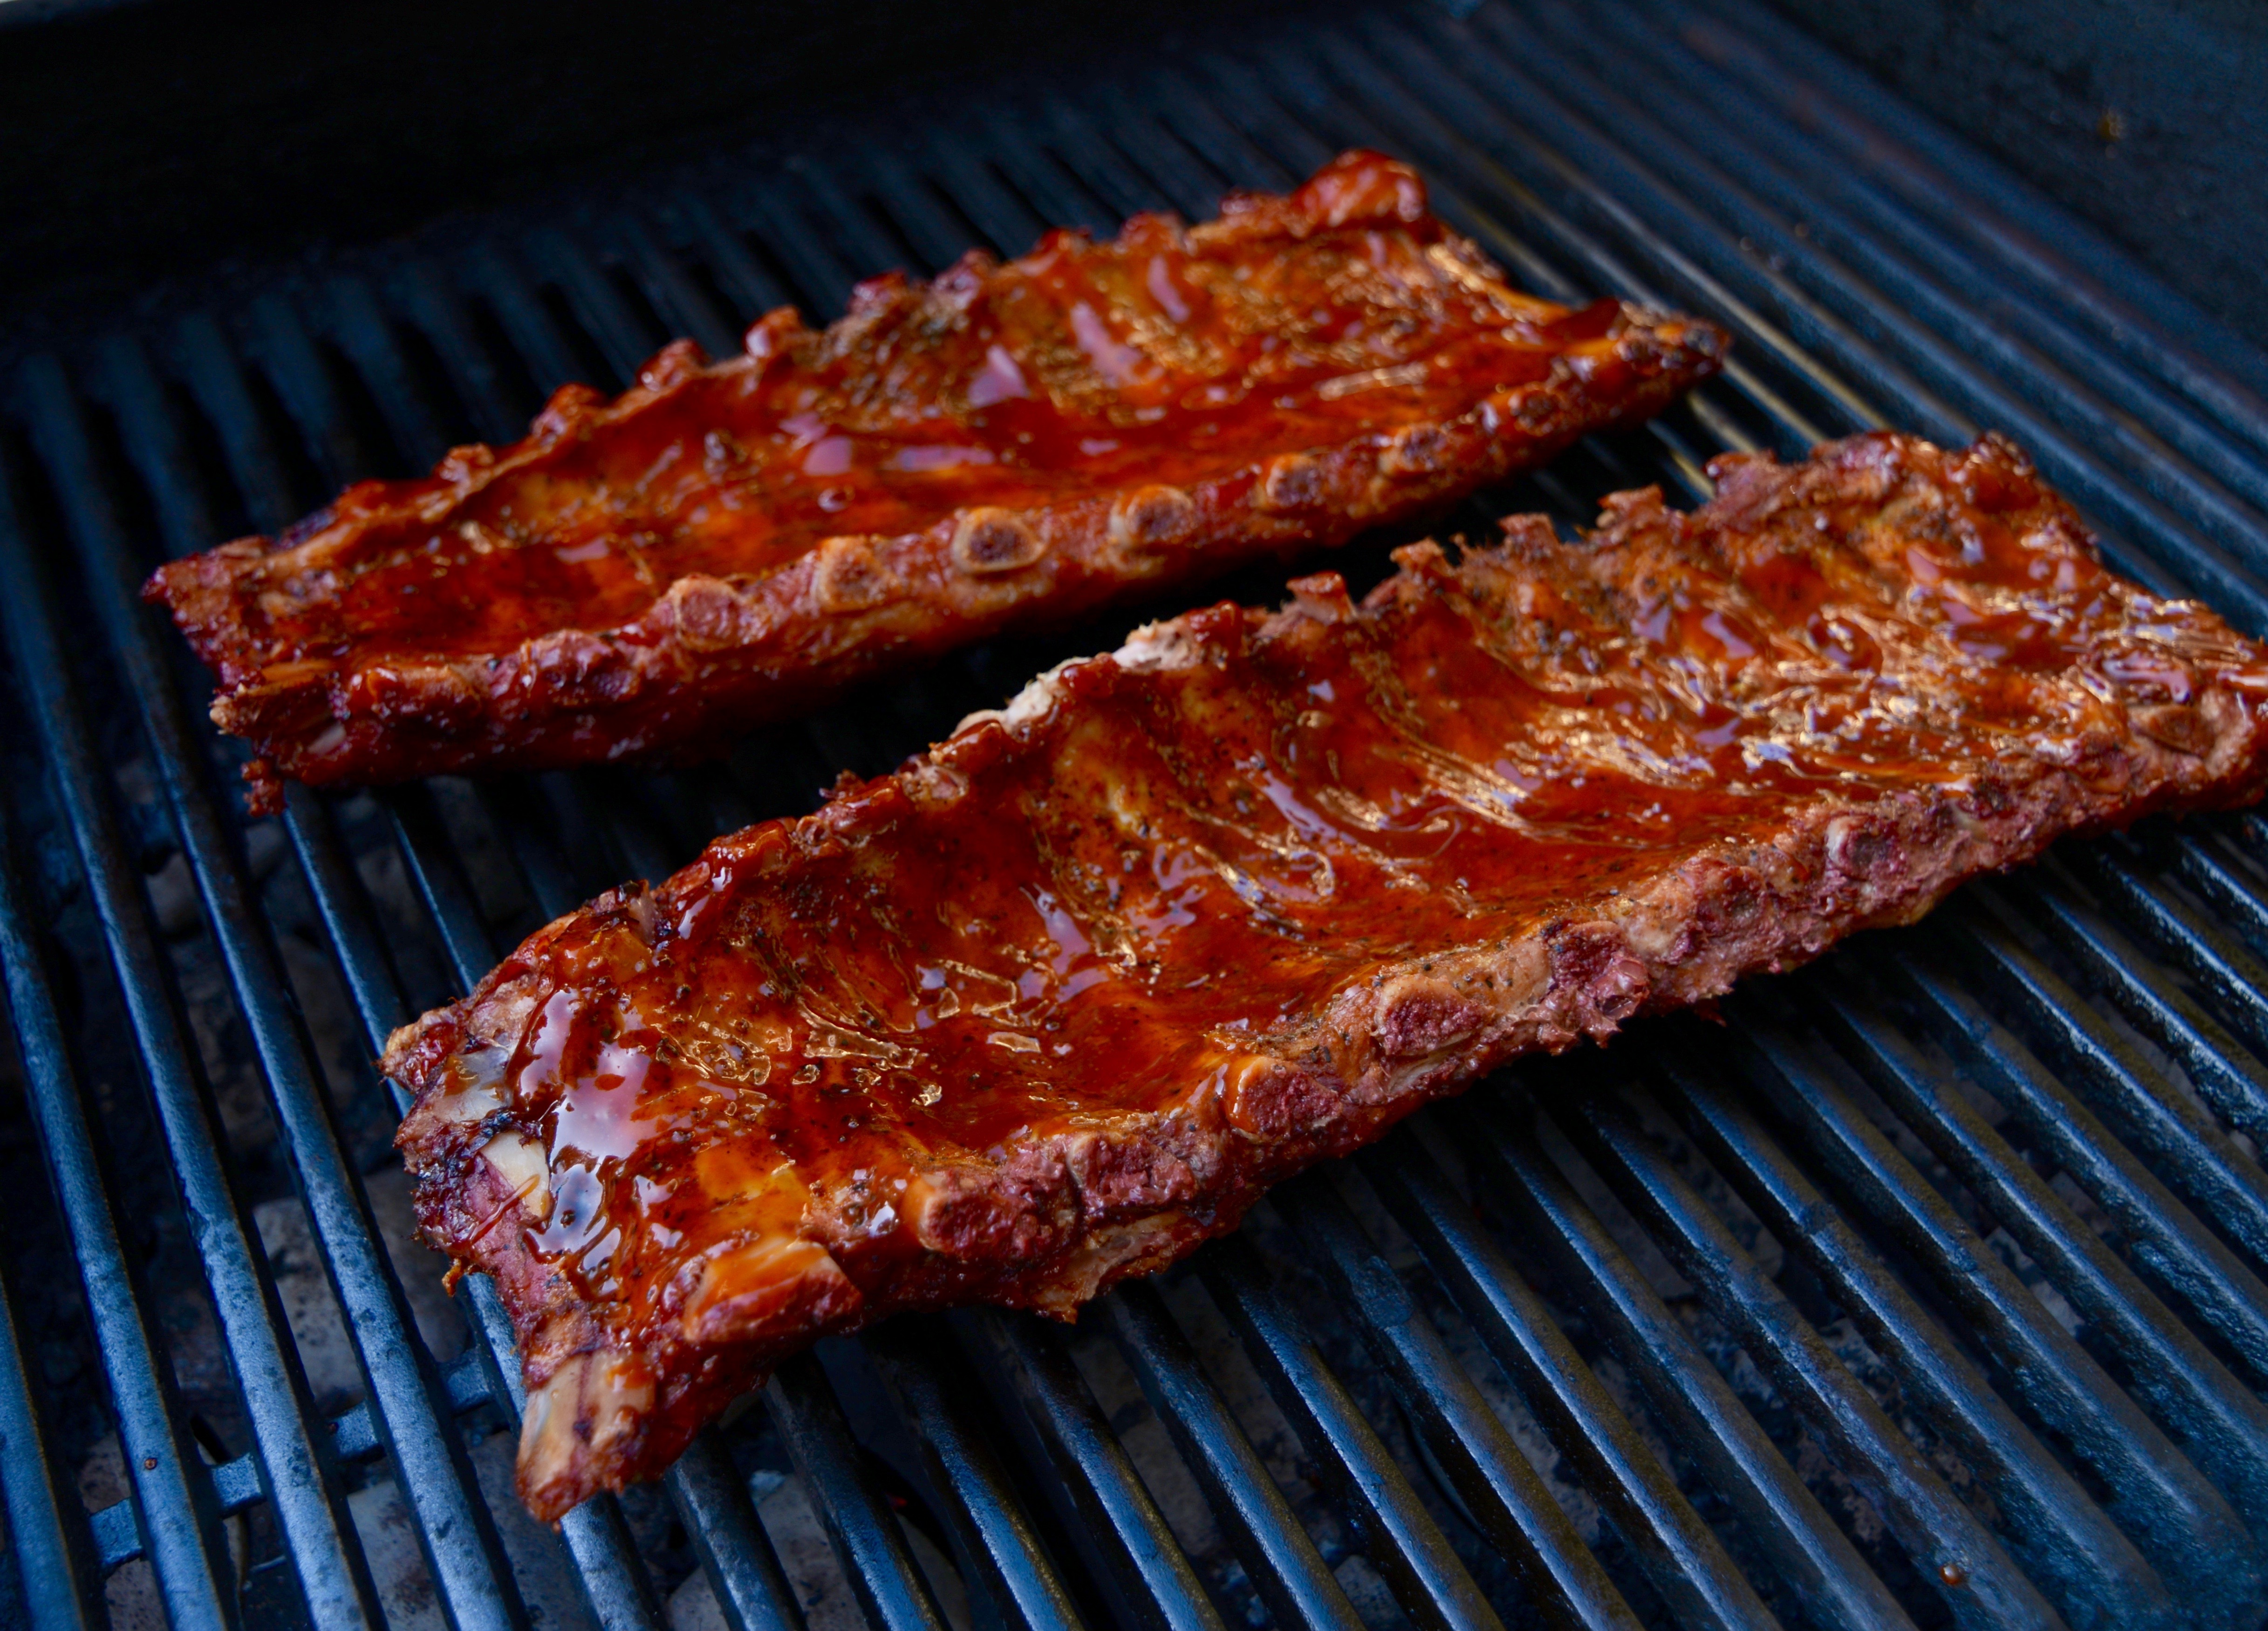
Spray your barbecue heavily with non-stick spray. Place ribs meat side down onto barbecue and let them roast with the lid closed for about 5 minutes. Remove from grill (you may need a flat metal spatula to get them unstuck if you didn’t spray enough oil earlier) and serve with remaining bbq sauce on the side.
Tips + Tricks:
*Seasoning your ribs a few days ahead with the dry rub will allow the flavors to really penetrate the meat. If you’re not making these last minute like I was, I strongly suggest the pre-seasoning method!
*If you don’t have access to a barbecue to get the final crust on the meat, you can imitate the same technique by using the broiler in your oven. Set your broiler to high and place ribs on a baking sheet meat side up. Broil for about 3-5 minutes until lightly charred on top (or heavily charred if that’s what you’re into).
*If you’re low on time, feel free to sub the homemade spice rub and bbq sauce with store bought versions.